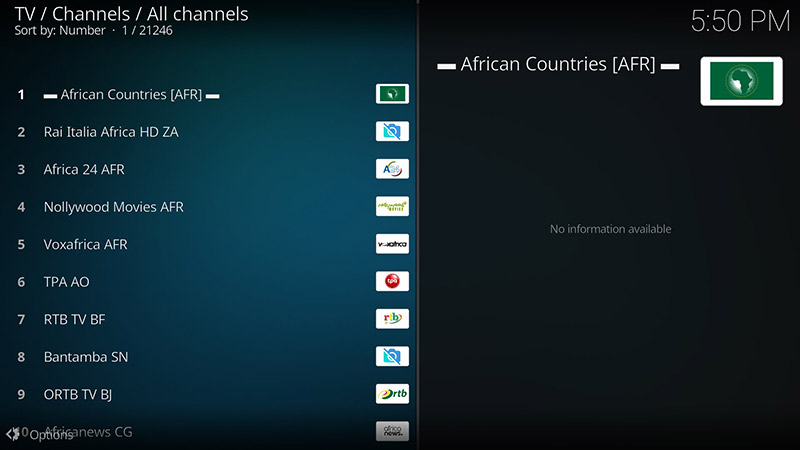
🎮 Kodi on Xbox One: Stream IPTV Channels with Ease
Kodi, one of the most popular platforms for streaming IPTV channels, is now available for Xbox One through the Xbox Live Store. This is great news for Xbox users, as Kodi is an incredibly flexible and powerful media center. With support for a wide range of third-party add-ons, it can be transformed into a DVR and used to stream IPTV content from various sources.
📺 How to Set Up IPTV on Xbox One Using Kodi
In this guide, we’ll walk you through the steps to stream IPTV channels on your Xbox One using Kodi.
✅ Step 1: Install Kodi on Xbox One
Power on your Xbox One and ensure it’s connected to the internet.
Sign in to your Xbox Live account.
Navigate to the Xbox Store and search for “Kodi.”
If the app appears, select it and click “Get” to begin installation.
⚠️ If Kodi doesn’t appear in the search, it may be temporarily unavailable on the Xbox Store. Try again later if that’s the case.
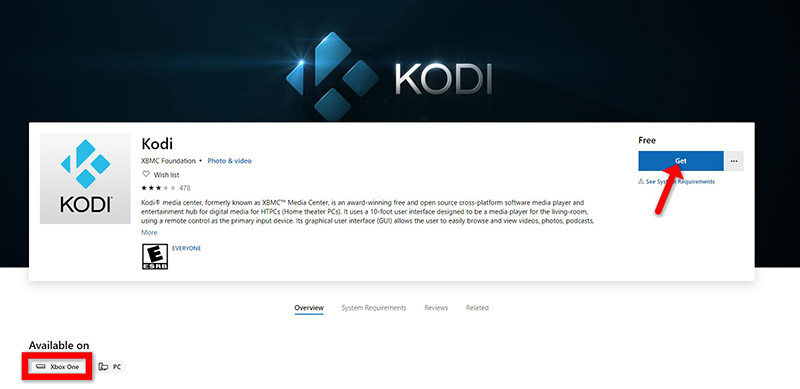
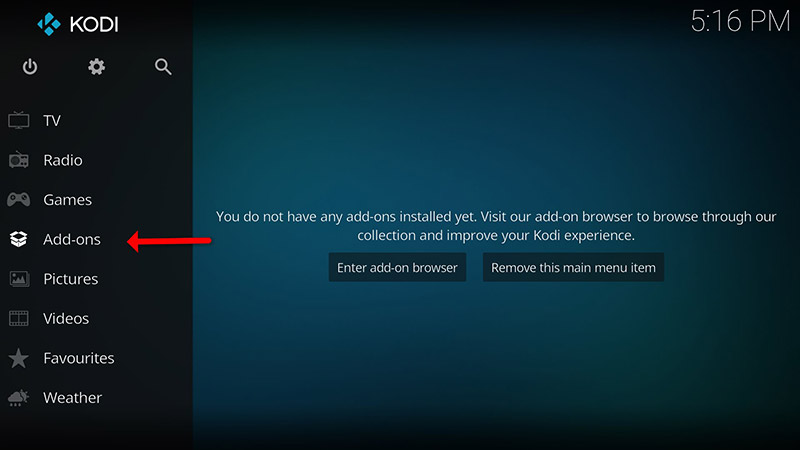
Step 2: When Kodi first loads up, it will appear quite blank. It doesn’t contain any add-ons or doesn’t display the videos you have on your hard drive. What we require are some add-ons.
Click on “Add-ons“.
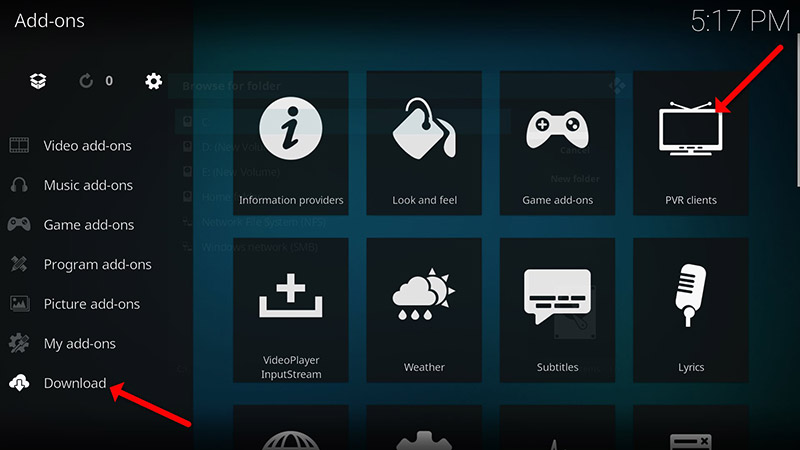
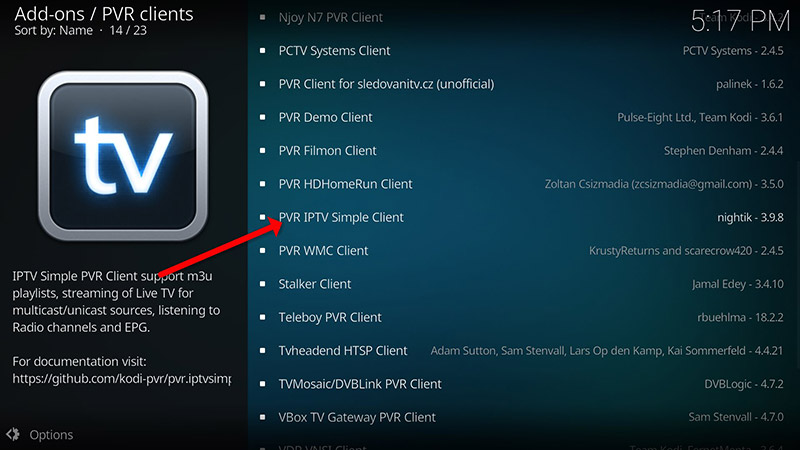
Step 3: Now click on “Download” then select “PVR clients“.
Note: We are going to download and install the PVR add-on here, after installing no need to go to the “Download“.
You can find the installed add-ons “My add-ons“
Step 4: Select “PVR IPTV Simple Client“.
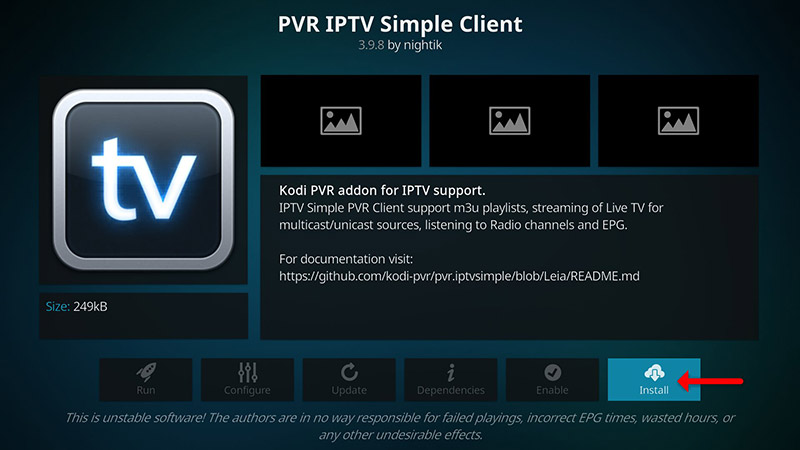
Step 5: Now click on “Install“.
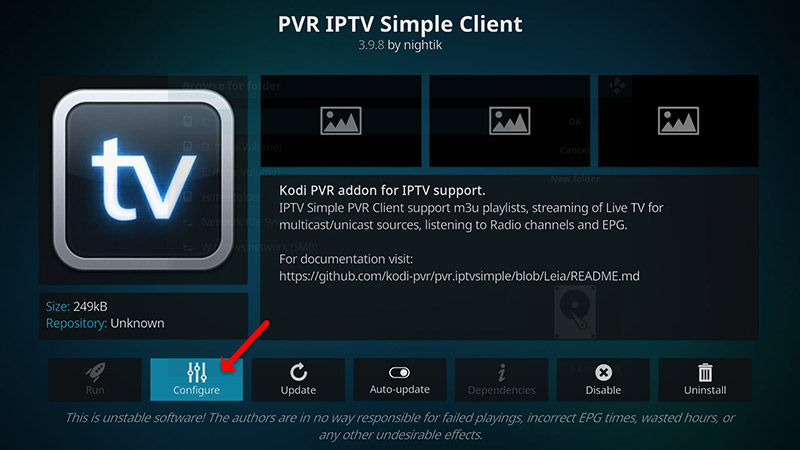
Step 6: After installing “PVR IPTV Simple Client” head back to “My add-ons” then “PVR Clients” and run the add-on.
Now click on “Configure“
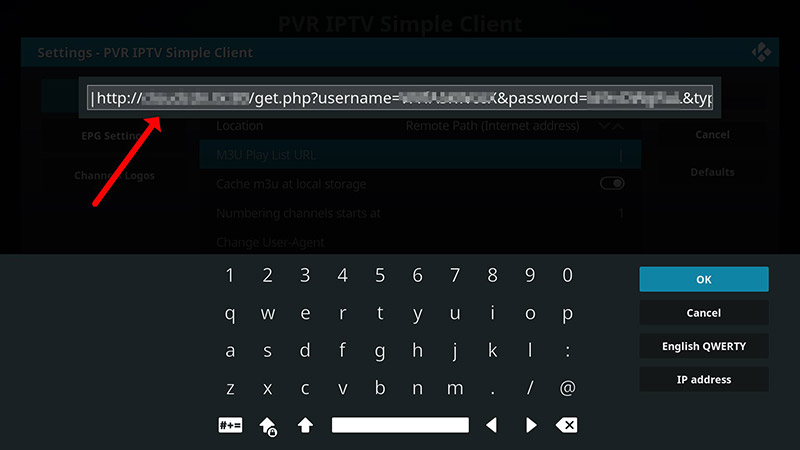
Step 7: Now select “M3U Play List URL“.
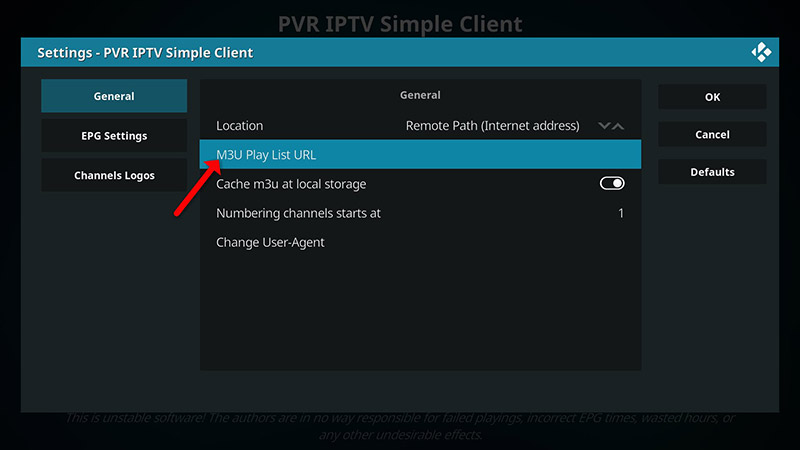
Step 8: Enter the M3U URL provided by your IPTV distributor and click “OK“.
Note: The progressive IPTV providers give you a dashboard which you can generate your M3U url in dashboard.
How to add EPG
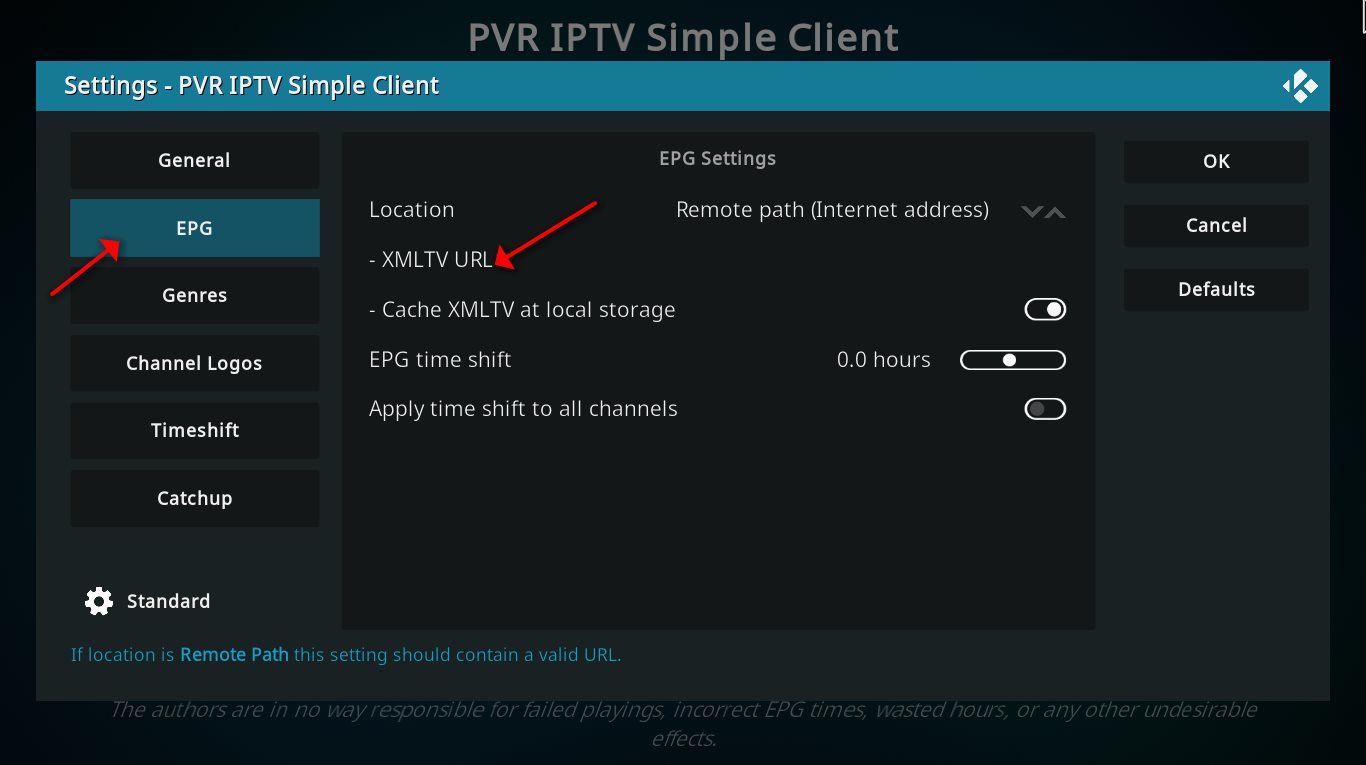
Step 9: Now go to “EPG Settings” and click on “XMLTV URL” for EPG. What is EPG?
You can get EPG url from your IPTV provider.
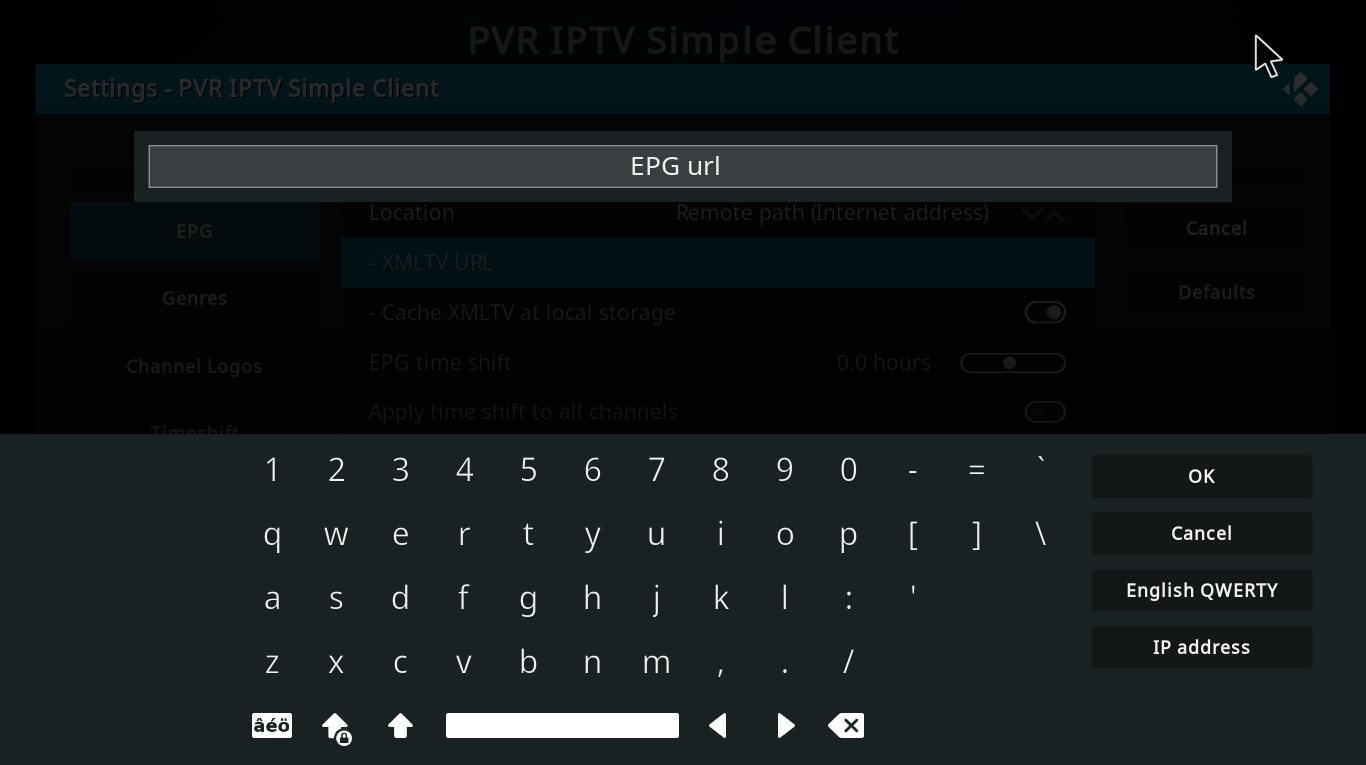
Step 10: Now paste your EPG URL and click “OK“.
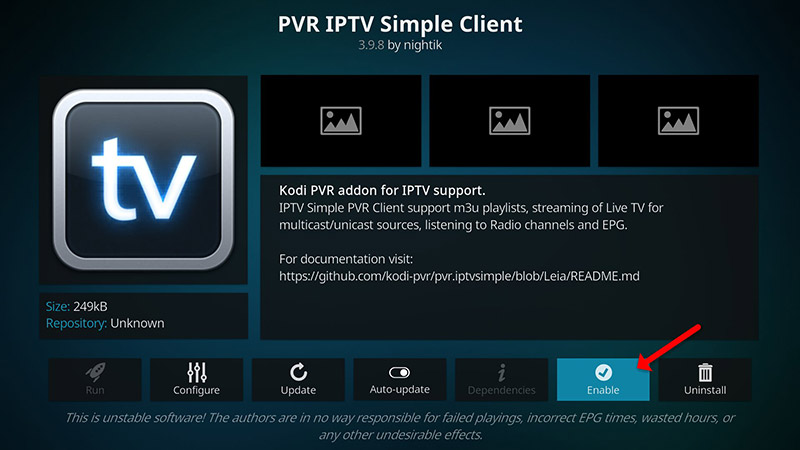
Step 11: Click on “Enable“.
Note: After you enable the add-on you will see “Disable”, this means the add-on enabled so do NOT to click on “Disable” again.
Step 12: Head back to “TV” and click on “Channels“.
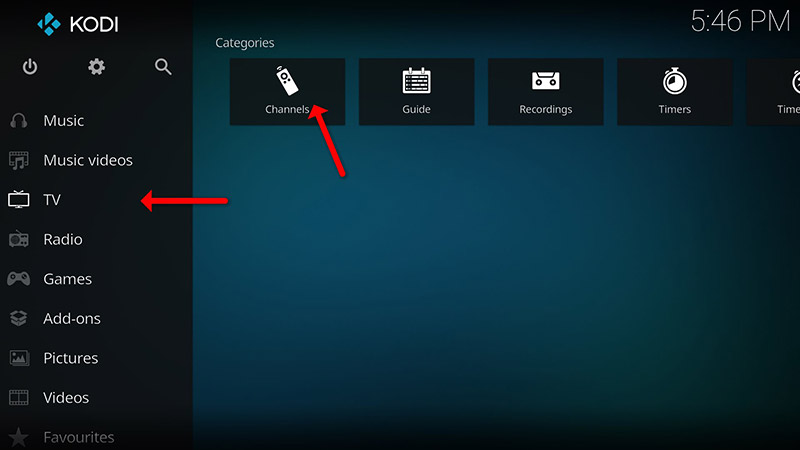
Step 13: Wait until you see the notification about updating channels and the installation process is over.
Well done, you have IPTV channels now.